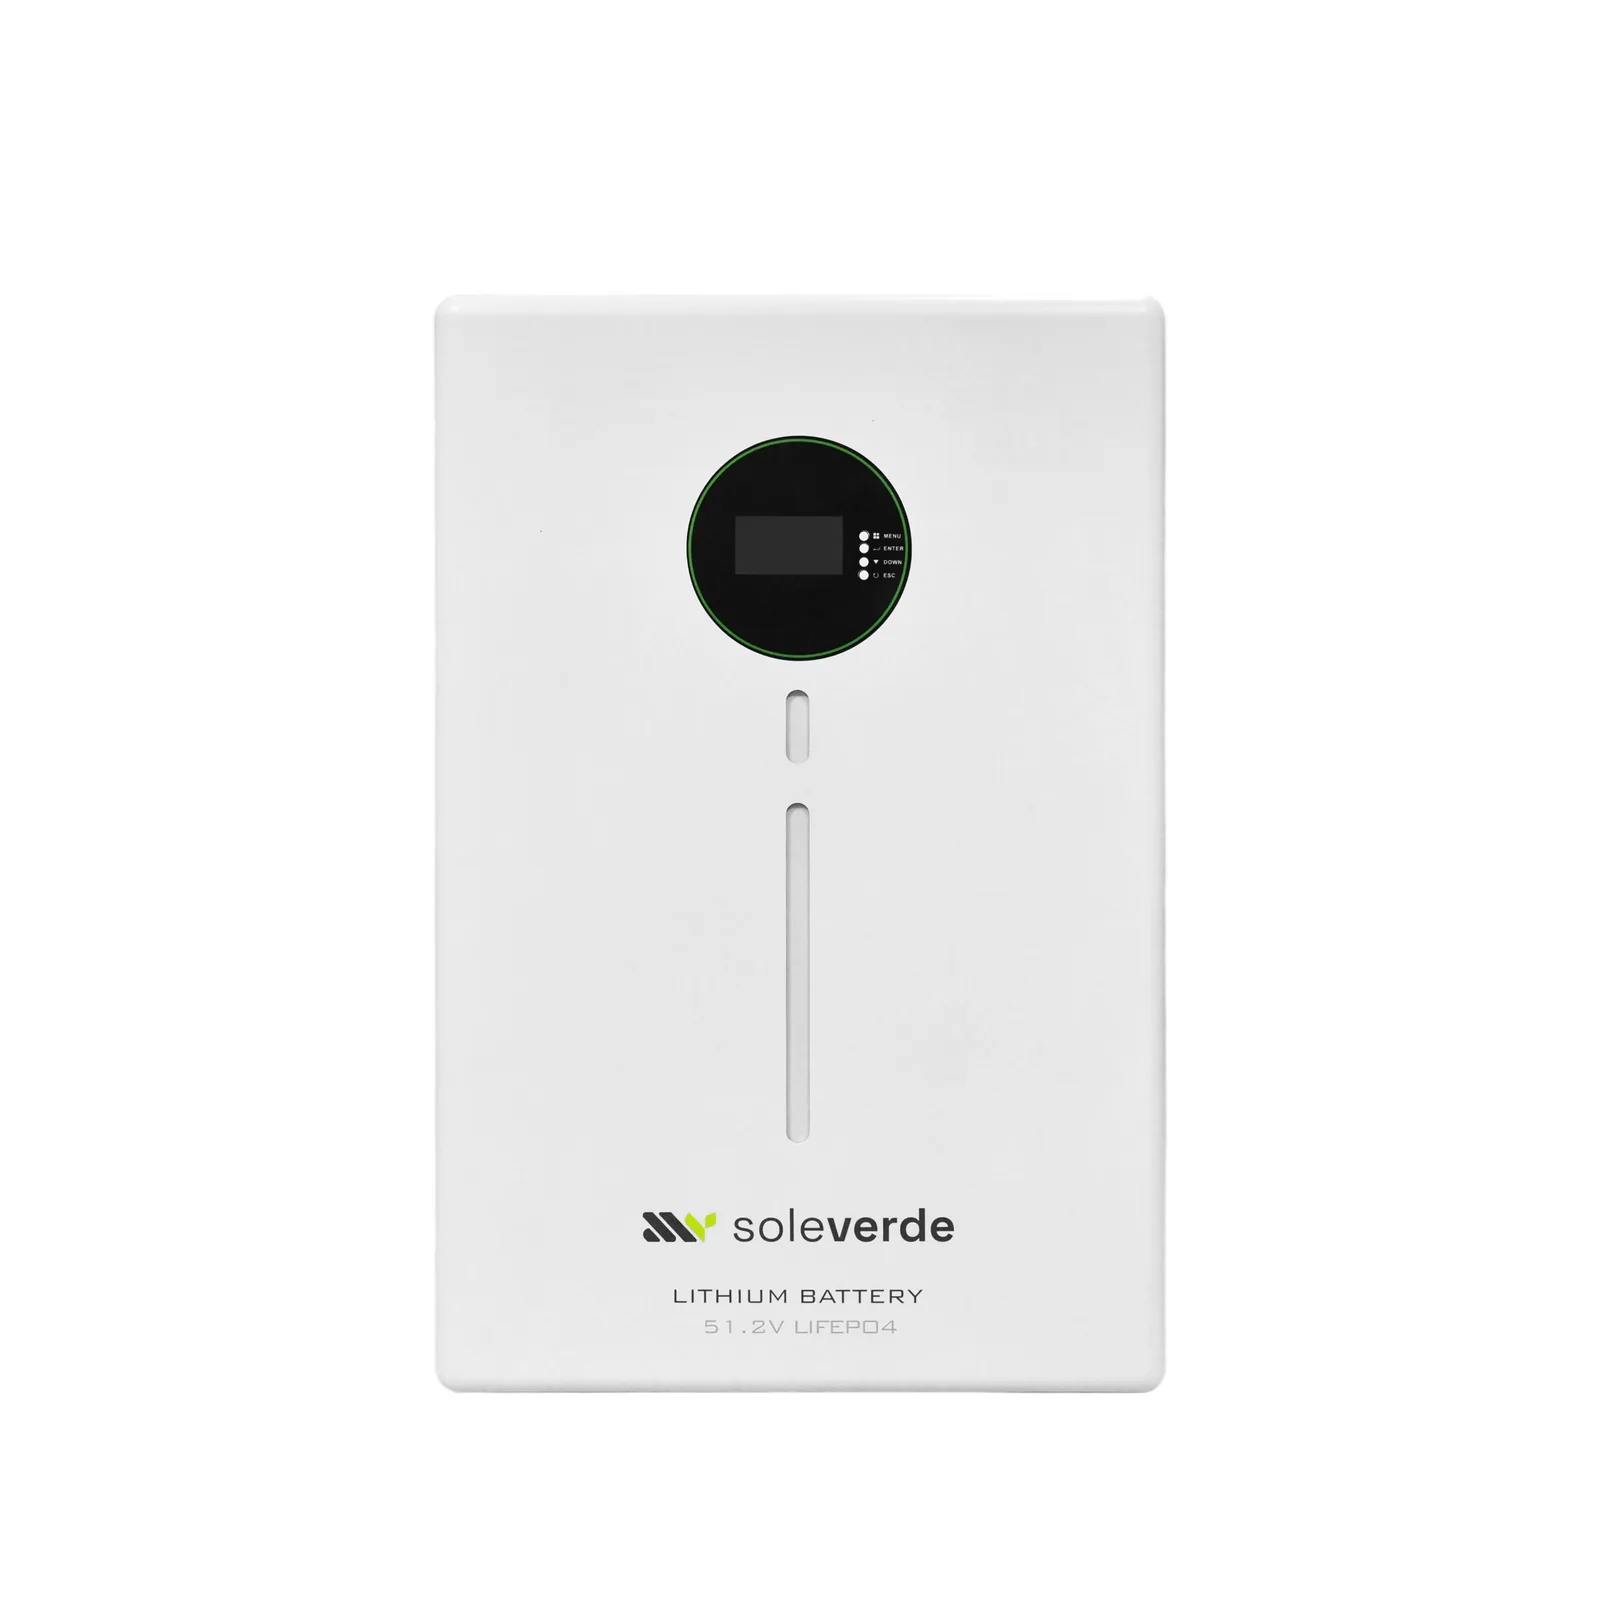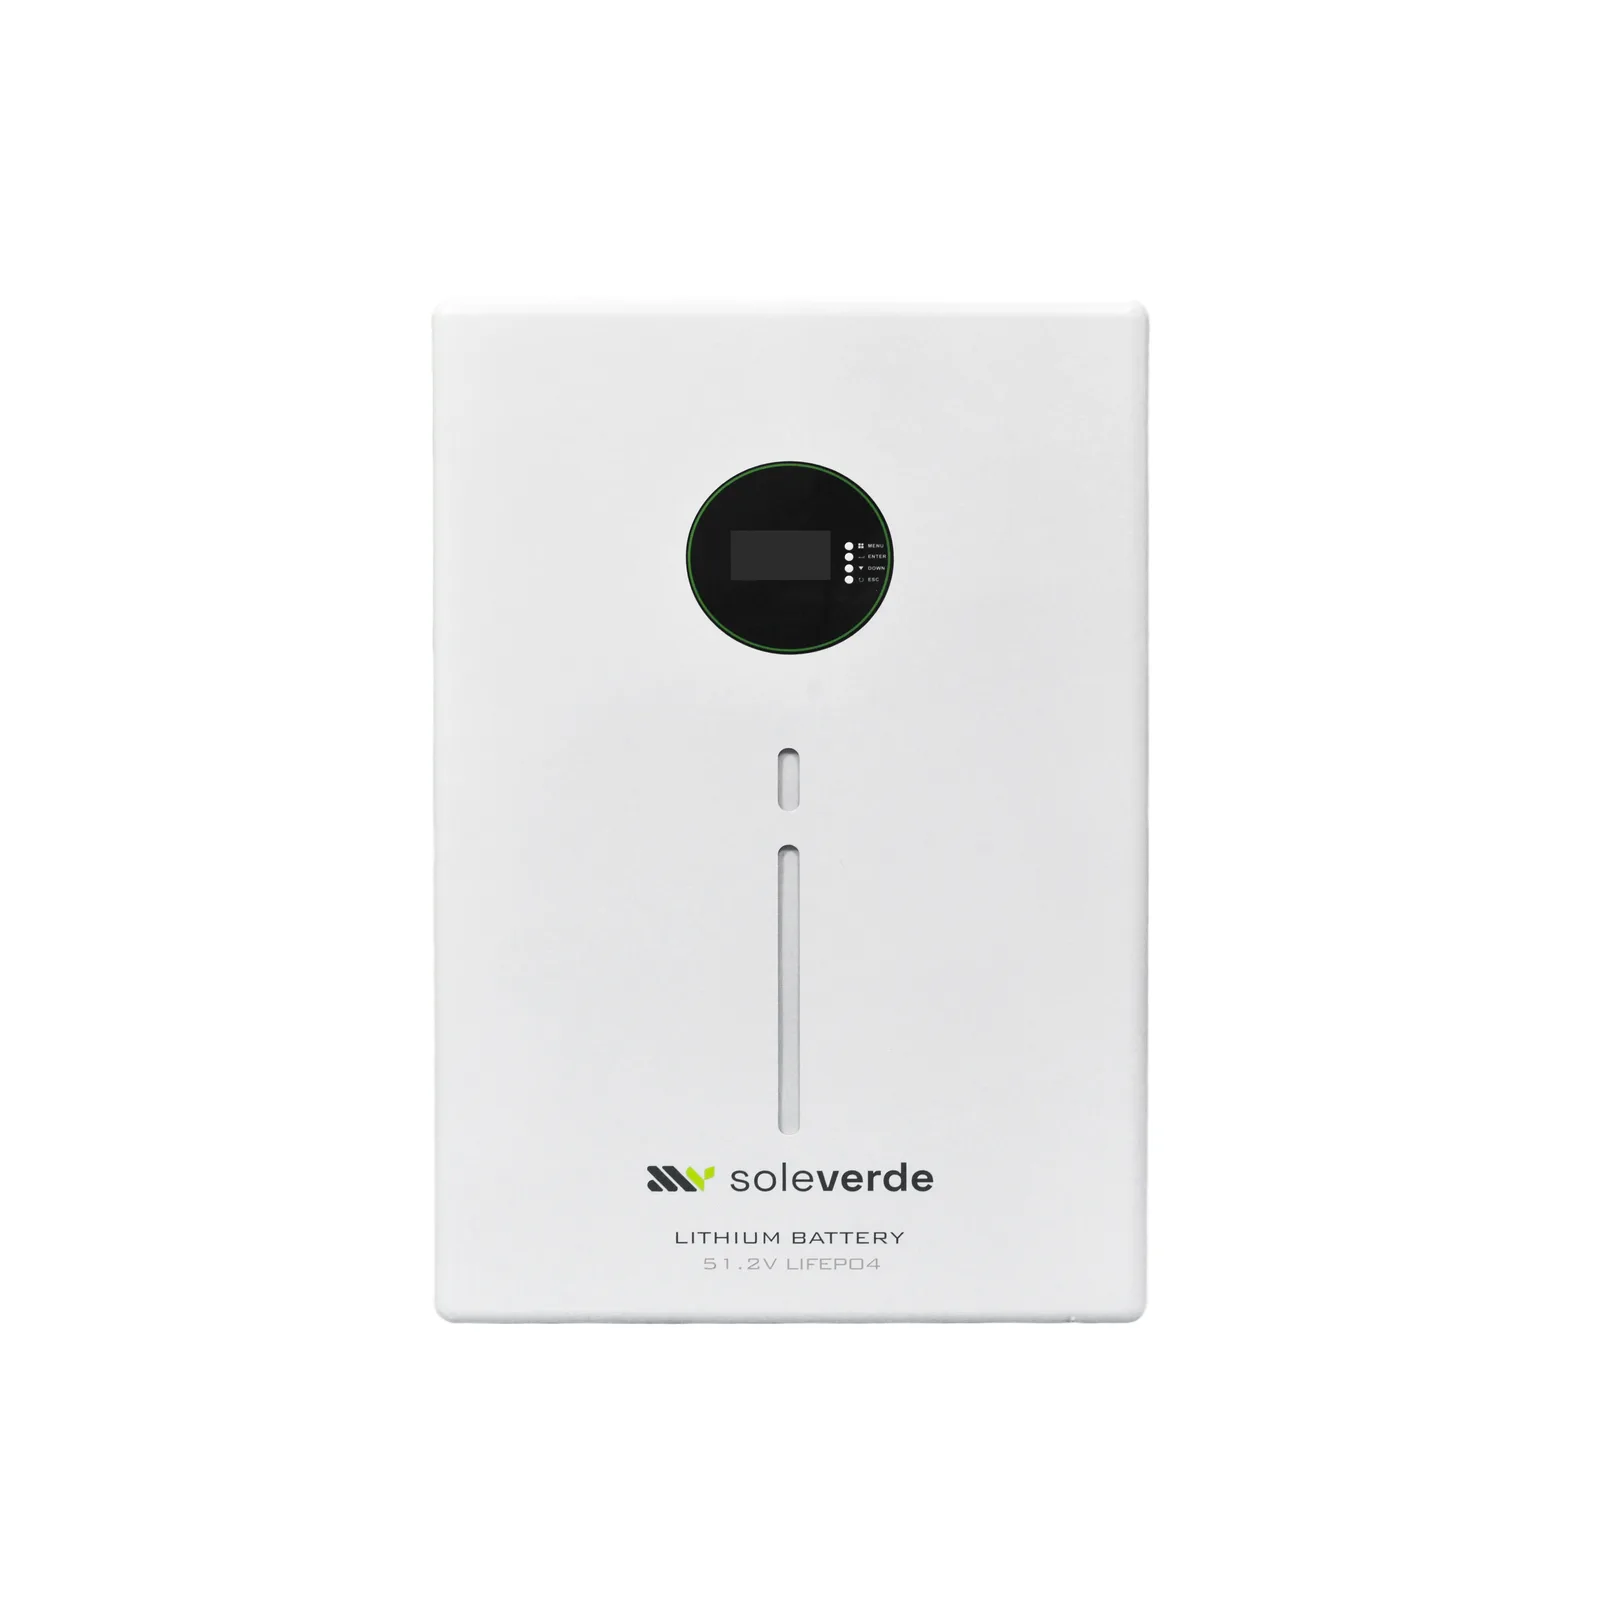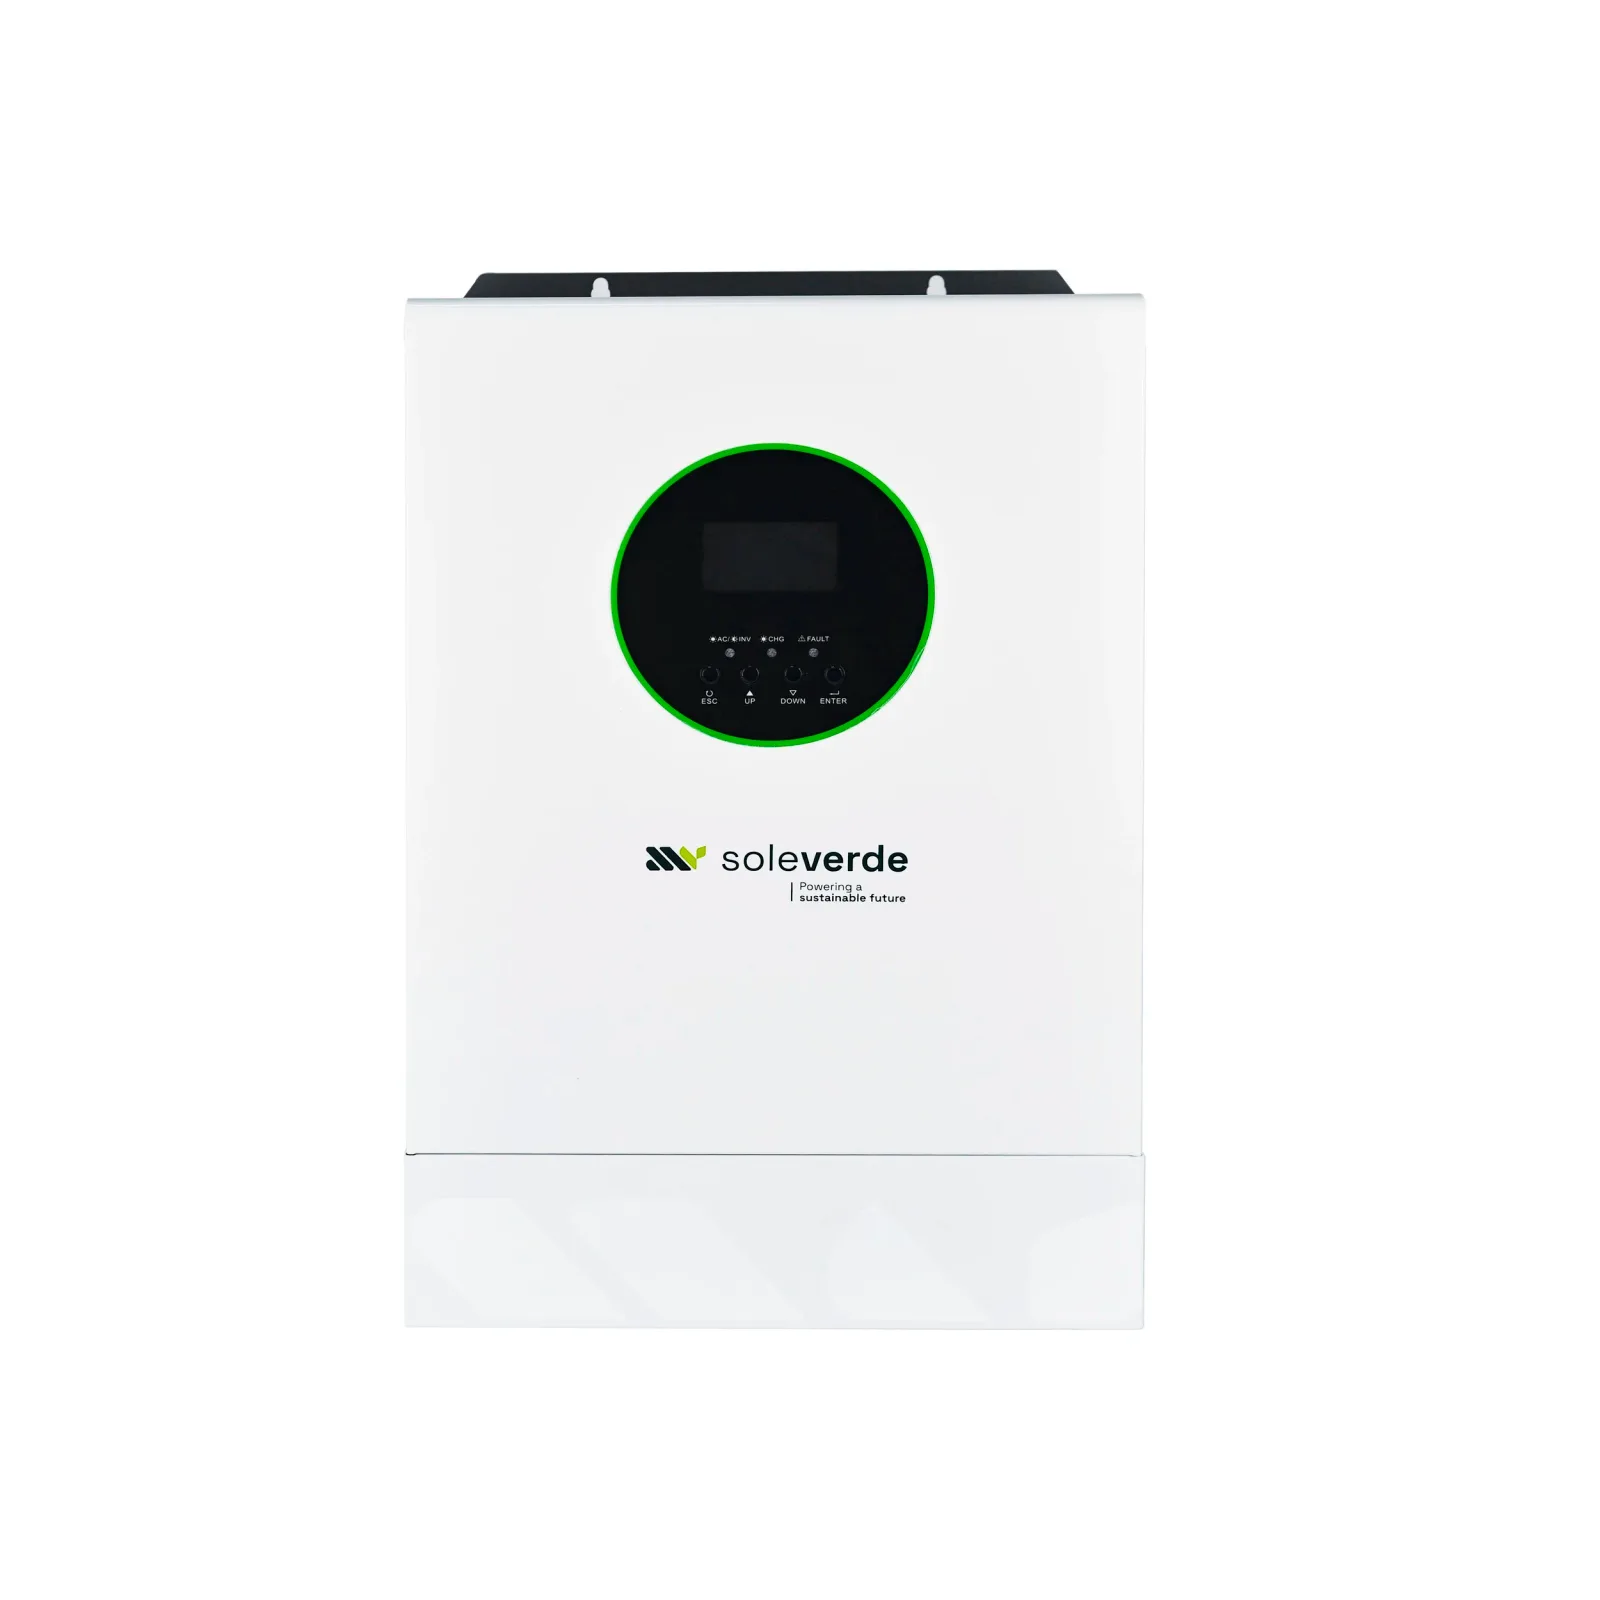
inverter
SV PRO 5500W
5.5 kW · 48V
The SV PRO 5500W moves the PRO platform onto the 48 V bus that serious systems are built on. One unit delivers 5.5 kW continuous with an 11,000 VA surge rating; up to nine can be paralleled for 49.5 kW — so the same hardware serves a villa today and a workshop next year.
It takes up to 6,200 W of PV per unit, restarts lithium banks automatically after a protection event, and holds output voltage within ±5% — tight enough for sensitive lab and medical equipment.
Pricing on request — reply usually within the hour, Dubai time.
Specifications
- Parallel
- Up to 9 units
- Battery voltage
- 48 VDC
- Dimensions
- 495 × 312 × 125 mm
- Max charge current
- 100 A
- Max PV input
- 6,200 W
- MPPT range
- 60–500VDC
- Output
- Pure sine wave · 208/220/230/240VAC ±5%
- Peak efficiency
- >94%
- Peak power
- 11,000 VA
- Rated power
- 5,500 W
- Warranty
- 12 months
Fitted right, first time
Professional installation
Site preparation
- Mount indoors or under shade in a dry, ventilated space — keep at least 300 mm clearance on all sides for airflow and service access.
- Fix to a solid masonry wall or rigid frame at eye level; never on plasterboard alone.
- Provision a DC battery breaker or fuse rated ~1.25× the maximum charge/discharge current (100 A), plus a PV string isolator and an AC output breaker.
- Keep battery cable runs short (under 3 m where possible) and use correctly sized lugs — voltage drop on the battery side is the most common cause of nuisance shutdowns.
Safety first
- This is a 48 V battery-bus system — only connect a battery bank of matching nominal voltage.
- PV strings carry lethal DC voltage in daylight. Never connect or disconnect PV connectors under load.
- Torque all terminals to specification and re-check after the first week of operation — thermal cycling loosens DC lugs.
- Installation must be carried out by a qualified electrician in accordance with local wiring regulations.
Commissioning checklist
- Confirm battery voltage, PV string Voc and AC input readings on the display match your meter.
- Verify charge current settings match the battery manufacturer's limits.
- Simulate a grid failure and confirm the transfer to battery is clean under a real load.
- Record serial number and settings — Sole Verde support will ask for both.
Installation sequence
- 1
Mount the unit
Mark the bracket, drill and anchor, then hang and lock the inverter. Confirm it sits plumb and the fans are unobstructed.
- 2
Connect the battery bank
Pair with 51.2 V LiFePO4 storage — one or more Lithium Battery 5KWH or 11.8KWH modules in parallel with BMS communication connected. Connect through the DC breaker with the breaker open, observing polarity — reverse polarity is the single most damaging installation error.
- 3
Connect the PV array
Up to 6,200 W of PV per unit across the 60–500 VDC MPPT window. Verify string open-circuit voltage with a multimeter before plugging in — it must sit inside the MPPT window at the coldest expected morning.
- 4
Wire the AC side
Land grid/generator input and load output on separate breakers with correct phase, neutral and earth. Bond the chassis earth terminal to the building earth.
- 5
Parallel configuration (multi-unit systems)
Install paralleled units side by side with equal-length battery cables, link the parallel communication cables, and set each unit's parallel ID before first power-up.
- 6
Power up in sequence
Close battery DC first, then PV, then AC. Set battery type, charge current and output priority in the menu before applying load.
This guide is a professional summary, not a substitute for the installation manual. Sole Verde supports certified installers across the region — ask us to connect you with one in your market.
Real-world capacity
What the SV PRO 5500W will run
How long a typical household runs on battery, with no sun. Add more strings in parallel to extend any of these figures.
| Running | Draw | 4 × SV12-200 AGM in series | 1 × Lithium 5 kWh (51.2 V) | 1 × Lithium 11.8 kWh (51.2 V) |
|---|---|---|---|---|
| Essentials6 LED lights, TV, fan, phone charging, router | 260 W | 16.5 h | 16.5 h | 24 h+ |
| Family homeEssentials + fridge and a second fan | 485 W | 8.5 h | 9 h | 20.5 h |
| Home + water pumpFamily home + ½ hp pump running | 885 W | 4.5 h | 4.5 h | 11 h |
Comfortable on this model
- LED light10 W
- Phone charging10 W
- Wi-Fi router15 W
- Ceiling fan75 W
- Television100 W
- Laptop65 W
- Fridge/freezer150 W
- Water pump (½ hp)400 W
- Washing machine500 W
- Microwave1000 W
- Iron1500 W
- Air conditioner (1 ton)1200 W
Indicative figures for planning: AGM banks are rated to 50 % depth of discharge and lithium to 95 %, with about 10 % allowed for conversion losses. Fridges and pumps cycle rather than draw continuously, and surge on start-up. Our engineers size the final system free — send your appliance list on WhatsApp.
Fault codes & fixes
Troubleshooting the SV PRO 5500W
What the display is telling you, and what to do about it. Most alarms clear in minutes without a technician.
No code showing?
| What you see | Usually means | What to do |
|---|---|---|
| Beeping fast, about twice a second | Overload (code 7) | Switch off heavy appliances now — iron, pump, washing machine — then reconnect one at a time. |
| Beeping slowly, about once a second | Code 3, 4 or 7 | Check whether the battery is very full or very empty, and how many appliances are running. |
| Will not switch on at all | No usable battery power reaching the unit | Check the battery fuse, DC breaker and terminals, and the voltage: 11 V+ for 12 V, 22 V+ for 24 V, 44 V+ for 48 V. |
| On, but no power at the sockets | Output disabled or a mode setting | Check the AC output breaker is on, the load is within rating, and the unit is not in bypass or ECO mode. |
| Turns on then shuts off immediately | Overload or a very low battery | Disconnect every load, then reconnect one at a time starting with the smallest. |
| Panels are not charging | No usable solar input | Check there is sun, clean the panels, check MC4 connectors, confirm the PV breaker is on and PV voltage shows on the display. |
| Battery charges very slowly | Undersized array or cable losses | Check panel count, cleanliness and shade — and cable size: household cable costs 15–20 % of your power. |
| Lights flicker or output is unstable | Low battery, loose terminals or overload | Tighten every terminal, check the state of charge, and reduce load. |
| Very hot to touch | Heat build-up — code 2 / F2 risk | Switch off, allow 20 cm clearance on all sides, and let it cool for 30 minutes. |
| Generator will not charge the battery | Unstable or out-of-range generator output | Check the generator gives 220 V ±10 %, let it stabilise first, and set the inverter to accept generator input. |
| Clicking sound | Normal relay switching | Normal. If very frequent, check for partial shade and loose MC4 connectors. |
| Display blank or showing dashes | Display or start-up issue | Switch off and on again. If it persists, contact support. |
| AGM batteries lose charge quickly | Repeated deep discharge, or age | Stop discharging below 50 %: cut night loads or add capacity. Over four years old usually means replacement. |
Alarm (yellow light)
1Fan self-testShow fix
The cooling fan is running its start-up check.
- Clears on its own.
- If it keeps appearing, clean dust from the fan and vents.
2Over temperature / NTC disconnectShow fix
The inverter is running hotter than its safe limit, or the temperature sensor lost contact.
- Switch the inverter off and let it cool for 30 minutes.
- Leave at least 20 cm clear on every side.
- Never install in a sealed cupboard or in direct sunlight.
3Battery over voltageShow fix
Charging voltage is set too high for the battery, or the BMS link is missing.
- Check the charge settings: lithium 56.4–57.6 V, AGM 12 V float 13.6–13.8 V.
- Confirm the battery type is set correctly in the inverter menu.
- On lithium, check the BMS communication cable is seated.
4Low battery voltageShow fix
The bank has been drawn down further than it should be.
- Reduce the load now.
- Charge from solar or AC.
- Never take AGM below 50 % — repeated deep discharge permanently shortens its life.
7OverloadShow fix
More load is connected than the inverter is rated for. The alarm beeps twice a second.
- Switch off heavy appliances immediately — iron, water pump, washing machine.
- Add the wattage of everything running and compare it with the inverter's rating.
- Reconnect one appliance at a time, smallest first.
10Output power deratingShow fix
The inverter is deliberately reducing output to protect itself, usually from heat.
- Reduce the load.
- Improve ventilation.
- It recovers by itself once cooler.
15Low PV (solar) inputShow fix
Little or no power is arriving from the panels.
- Clean the panels.
- Check for shade from trees, walls or a water tank.
- Check the MC4 connectors are fully clicked together.
- Normal in cloud, or early morning and late afternoon.
16AC input voltage too highShow fix
The grid or generator is supplying above the accepted range.
- On a generator, check the AVR.
- On grid, wait for the supply to stabilise.
65PV current signal faultyShow fix
The inverter cannot read the solar current correctly.
- Check the PV cable connections for damage.
- Contact support if it persists.
BPBattery not connectedShow fix
The inverter cannot see the battery bank at all.
- Check the cables, the fuse and the terminals for corrosion.
- On lithium, press the battery's ON button.
- Check the DC breaker is closed.
EQBattery equalisationShow fix
A scheduled conditioning charge is running.
- Normal for AGM — let it finish.
- Disable equalisation in settings when using lithium.
Fault (red light)
F1Fan self-check failedShow fix
The cooling fan did not start correctly.
- Switch off and check the fan spins freely.
- Clean out dust.
- A failed fan must be replaced professionally.
Never open the inverter yourself — it voids the warranty and carries a real risk of shock. Contact a Sole Verde verified technician.
F2Over temperature / NTC disconnectShow fix
The unit reached a dangerous temperature, or the sensor failed.
- Switch off at once and let it cool for an hour.
- Check ventilation and clearance.
- If the temperature is normal but the fault stays, the sensor needs a technician.
Never open the inverter yourself — it voids the warranty and carries a real risk of shock. Contact a Sole Verde verified technician.
F3Battery over voltage (serious)Show fix
Battery voltage exceeded the inverter's safe ceiling.
- Switch off and disconnect the battery to reset.
- Lithium 48 V: maximum 58.4 V. AGM 48 V: maximum 57.6 V.
- Check the charge settings before reconnecting.
Never open the inverter yourself — it voids the warranty and carries a real risk of shock. Contact a Sole Verde verified technician.
F4Low battery voltage (serious)Show fix
The bank fell below the level the inverter can work with.
- Charge from AC immediately.
- AGM left at very low voltage for long is permanently damaged.
Never open the inverter yourself — it voids the warranty and carries a real risk of shock. Contact a Sole Verde verified technician.
F5AC output short circuitShow fix
A short was detected on the output wiring or an appliance.
- Switch off and disconnect every appliance.
- Check the output wiring for damage.
- If no short is found, contact support — do not keep restarting.
Never open the inverter yourself — it voids the warranty and carries a real risk of shock. Contact a Sole Verde verified technician.
F6High AC output voltageShow fix
The inverter produced a higher output voltage than it should.
- Switch off and restart with no load connected.
- If it repeats, it needs professional service.
Never open the inverter yourself — it voids the warranty and carries a real risk of shock. Contact a Sole Verde verified technician.
F7Overload — severe shutdownShow fix
The overload was large enough to trip a protective shutdown.
- Switch off every appliance.
- Wait 30 seconds and restart.
- Reconnect one at a time, smallest first.
Never open the inverter yourself — it voids the warranty and carries a real risk of shock. Contact a Sole Verde verified technician.
F8DC bus over voltageShow fix
Internal DC voltage rose above its limit.
- Switch off, wait one minute, restart.
- Contact support if it repeats.
Never open the inverter yourself — it voids the warranty and carries a real risk of shock. Contact a Sole Verde verified technician.
F9DC bus soft start failureShow fix
The inverter could not bring its internal bus up to voltage.
- Switch off and wait two minutes.
- Check the battery connections.
- If the bank is very low, charge from AC first.
Never open the inverter yourself — it voids the warranty and carries a real risk of shock. Contact a Sole Verde verified technician.
51AC output current control failedShow fix
The output current regulation did not behave as expected.
- Restart.
- Contact support if it returns.
Never open the inverter yourself — it voids the warranty and carries a real risk of shock. Contact a Sole Verde verified technician.
52DC bus voltage too lowShow fix
Internal DC voltage stayed below the working range.
- Check battery voltage and connections.
- Restart.
Never open the inverter yourself — it voids the warranty and carries a real risk of shock. Contact a Sole Verde verified technician.
53AC output soft start failedShow fix
The output could not start up cleanly, usually because of load.
- Disconnect all loads and restart.
- Reconnect one appliance at a time.
Never open the inverter yourself — it voids the warranty and carries a real risk of shock. Contact a Sole Verde verified technician.
55Excessive DC componentShow fix
Too much DC content was measured on the AC output.
- Restart.
- If it recurs, contact support.
Never open the inverter yourself — it voids the warranty and carries a real risk of shock. Contact a Sole Verde verified technician.
57Current signal self-check failedShow fix
An internal current sensor failed its check.
- Restart.
- Persistent failures need professional repair.
Never open the inverter yourself — it voids the warranty and carries a real risk of shock. Contact a Sole Verde verified technician.
58AC output voltage too lowShow fix
Output voltage is below the accepted band.
- Reduce the load.
- If it stays low with nothing connected, it needs service.
Never open the inverter yourself — it voids the warranty and carries a real risk of shock. Contact a Sole Verde verified technician.
59PV input over voltageShow fix
Too many panels in series — string voltage exceeds the inverter's limit.
- Disconnect the solar panels immediately.
- Recalculate string open-circuit voltage at the coldest expected temperature.
- Rewire the strings shorter before reconnecting.
Never open the inverter yourself — it voids the warranty and carries a real risk of shock. Contact a Sole Verde verified technician.
Parallel systems
60Power feedbackShow fix
Power is flowing between units instead of to the load.
- Check load balance.
- Confirm all units are the same model.
- Restart every unit.
71PSoftware version mismatchShow fix
The units are running different firmware.
- All units need the same firmware version — contact support.
72Parallel load sharing failedShow fix
The units cannot agree on how to split the load.
- Check the communication cables.
- Restart all units.
73Output voltage inconsistentShow fix
Units are set to different output voltages.
- Match the output voltage on every unit — 220, 230 or 240 V.
80CAN bus communication errorShow fix
The parallel data link between units is broken.
- Unplug and refit the parallel cable firmly.
- Replace the cable if damaged.
81Master unit signal lostShow fix
The slave units cannot hear the master.
- Power the MASTER unit first.
- Check the cable to the first slave.
82Sync signal lostShow fix
The units lost synchronisation with each other.
- Switch off all units.
- Check every cable.
- Power the MASTER first, then each slave 30 seconds apart.
83Battery voltage difference too largeShow fix
The banks on each unit are at different states of charge.
- Charge all banks to the same voltage first.
- Never mix old and new batteries.
84AC input voltage difference too largeShow fix
Units are seeing different AC input.
- All units must share one AC source, with the same cable length and gauge.
85AC output current unbalancedShow fix
One unit is carrying more of the load than the others.
- Use equal cable lengths and gauges on all outputs.
- Check the communication cable.
86Parallel settings inconsistentShow fix
The units are configured differently.
- Match on every unit: battery type, charge current, output voltage, operating mode and low-battery cutoff.
Lithium battery (BMS)
61BMS communication exceptionShow fix
The inverter cannot talk to the lithium battery's management system.
- Check the BMS cable between inverter and battery.
- Confirm the battery is switched on.
- Refit the cable firmly at both ends.
- Set the inverter's battery type to LITHIUM.
66Temperature sensor exceptionShow fix
The battery is outside its safe temperature range, or the sensor failed.
- Above 50 °C: move it somewhere cooler and ventilated.
- Below −10 °C: warm the space before charging.
- If the temperature is normal, contact support.
69Battery does not allow chargingShow fix
The BMS is refusing charge — full, too hot, too cold, or cells out of balance.
- Check the battery LEDs.
- If it is not full and the temperature is normal, let it rest 30 minutes.
- Persistent refusal points to cell imbalance — contact support.
70Battery needs charging / discharge stoppedShow fix
The pack is critically low and has protected itself.
- Charge from AC or solar now.
- Never bypass BMS protection.
Still stuck? Send us a photo of the display on WhatsApp — reply GUIDE and the full fix guide comes back in your language.
Get help on WhatsAppEngineered together