
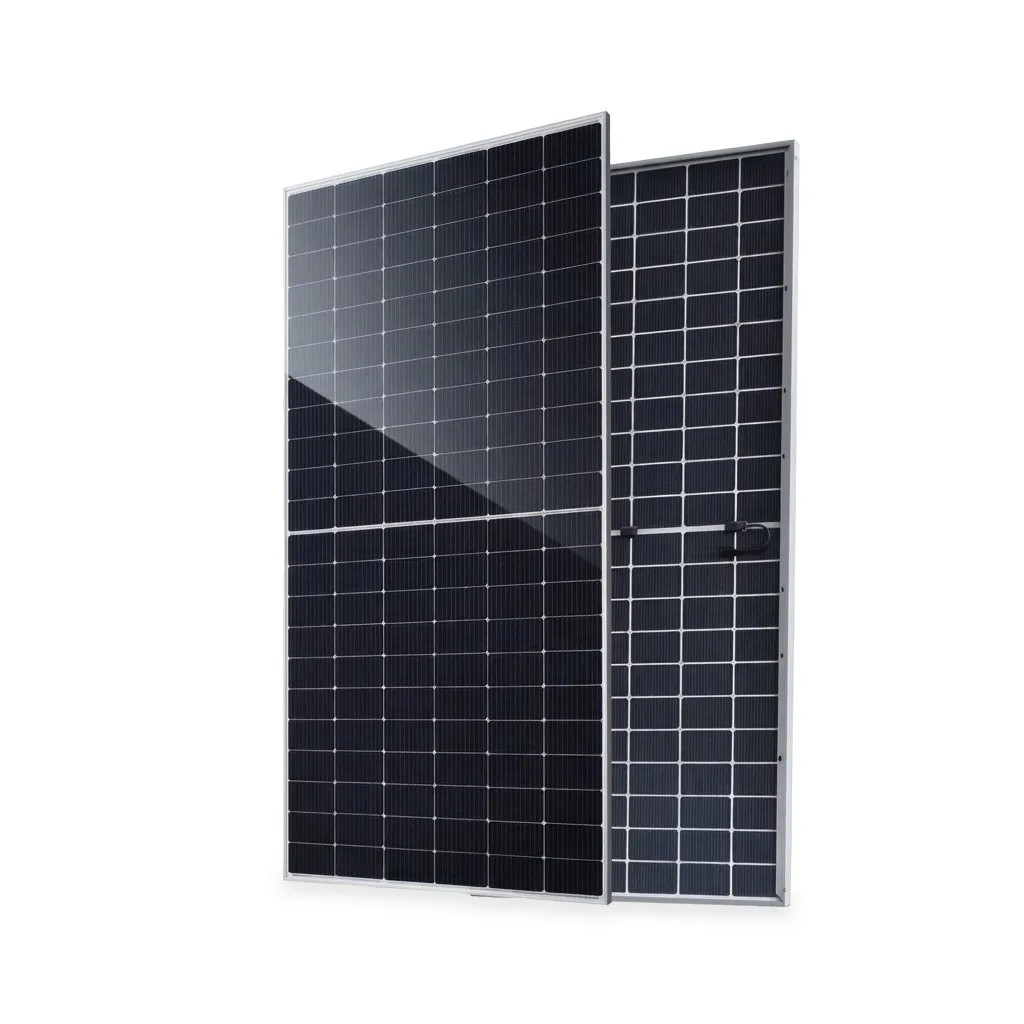
panel
SV-595W N-type Bifacial
595 W · 52.92V Voc
595 W N-type TOPCon bifacial, double glass, silver frame, 1,400 mm cables. 2278 × 1134 × 30 mm. Pallet of 36: AED 12,996 incl. VAT.
Pricing on request — reply usually within the hour, Dubai time.
Specifications
- Bifacial
- Yes
- Cable length
- 1,400 mm
- Cells
- N-type TOPCon
- Dimensions
- 2278 × 1134 × 30 mm
- Frame
- Silver aluminium
- Glass
- Double glass
Fitted right, first time
Professional installation
Site preparation
- Survey the roof or ground area for shading between 9 am and 3 pm — even partial shade on one module drags down the whole string.
- Use a mounting structure rated for local wind loads, with rails spanning the module's clamping zones only (never clamp outside the marked zones).
- Plan string wiring before lifting panels: keep string open-circuit voltage inside the inverter's MPPT limit at the coldest expected temperature.
- For bifacial modules, elevate the array over a reflective surface to capture rear-side gain.
Safety first
- Modules generate voltage whenever light hits them — treat every connector as live during daylight.
- Work with fall protection on any roof; never carry a module in wind above 30 km/h.
- Do not step on modules or drop tools on the glass — invisible micro-cracks permanently reduce output.
- Earth the mounting structure and module frames per local code.
Commissioning checklist
- Compare string Voc and operating current against the datasheet at similar irradiance.
- Photograph the array and record string layout for the maintenance file.
- Re-torque clamps and check cable dressing after the first month.
Installation sequence
- 1
Install the mounting structure
Fix rails to the roof structure or ground foundation, level and square. On tin roofs seal every penetration; on flat roofs use ballasted or anchored tilt frames at 10–25°.
- 2
Lift and clamp the modules
Each module weighs its rated weight — lift with two people. Clamp within the marked zones, torque clamps evenly, and leave a 10–20 mm gap between modules for thermal expansion.
- 3
String the connectors
Connect MC4 plugs in series along each row, dressing cables under the modules with UV-resistant clips — no cable should rest on the roof surface.
- 4
Run home cables
Route string cables through conduit to the PV isolator at the inverter. Keep positive and negative of the same string together to minimise induction loops.
- 5
Test each string
Measure open-circuit voltage per string (≈the datasheet Voc per module) and confirm polarity before connecting to the inverter.
This guide is a professional summary, not a substitute for the installation manual. Sole Verde supports certified installers across the region — ask us to connect you with one in your market.